
Here’s how we do it!
Laminating and cutting acrylic gives a huge range of effects but one quite simple one has been to vary the thicknesses and cut again at an angle.
It gives a very pleasing chevron design that almost looks like a leaf pattern or possibly some kind of fossil.
Here we’ve worked with a thick green transparent sheet (6mm) and a very thin (1mm) white opalescent.
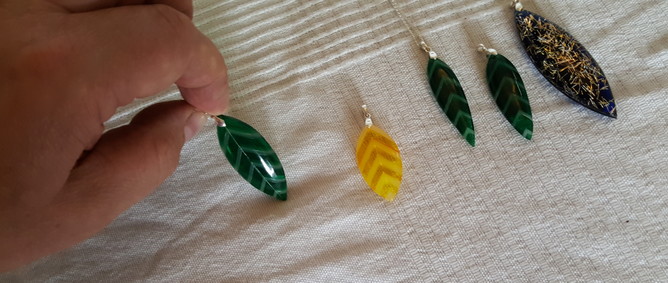
Though the first two shots are of the same technique with two shades of yellow.
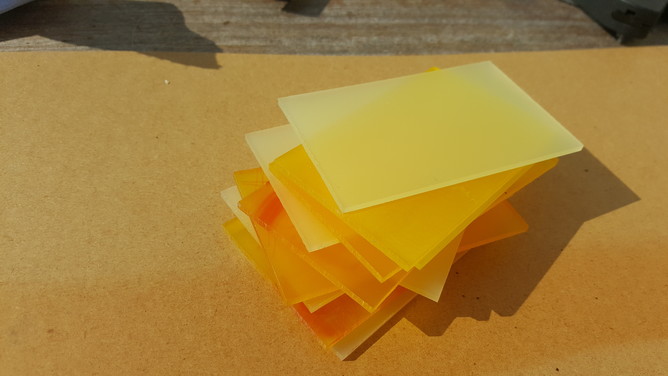
We’ve cut the acrylic sheets to the same size (roughly) and layered them ready for gluing.
Fortunately they were a frosted finish which saves having to key them with abrasive paper first.
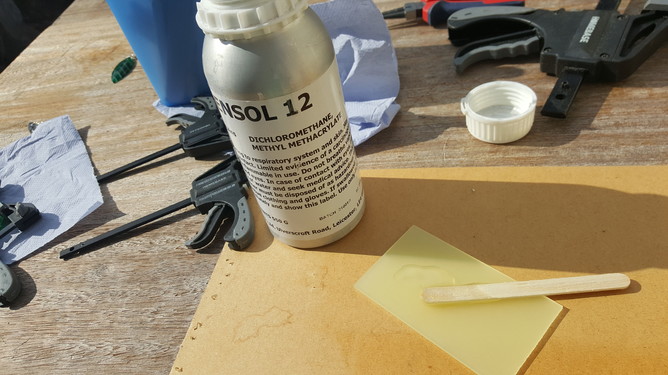
Glue them up with Tensol 12. You can see we did this outside as ventilation is essential.
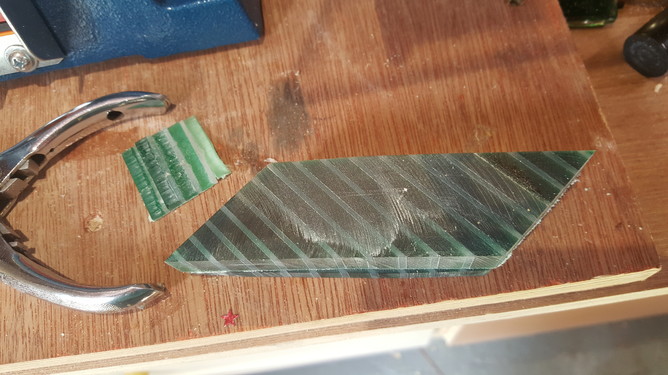
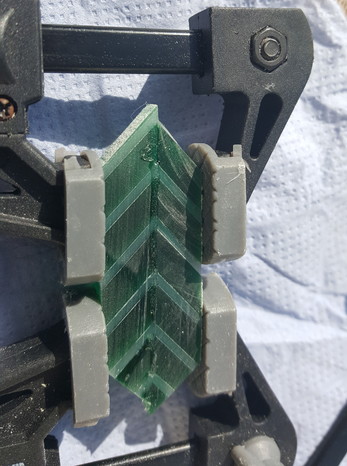
Glue and clamp up the pieces into a block and then saw them at 45 degrees.
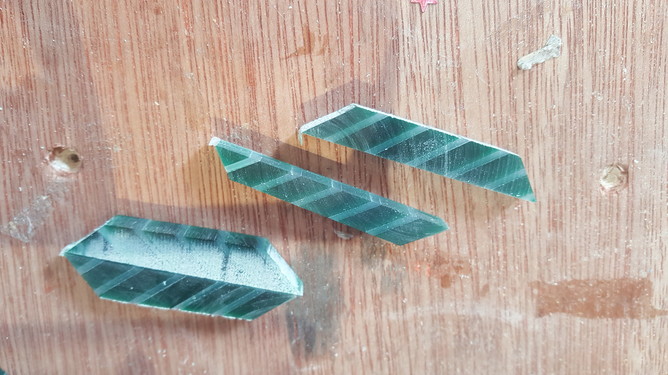
We sliced the block into layers and cut and reversed the pieces.
When gluing, it was essential to keep the layers in line.
Then it was a case of grinding the blank to shape on the linisher and hand filing where needed then with 4 grades of silicon carbide paper getting all the scratches out and finally polishing. Oh, and drilling of course for the pinch bail.
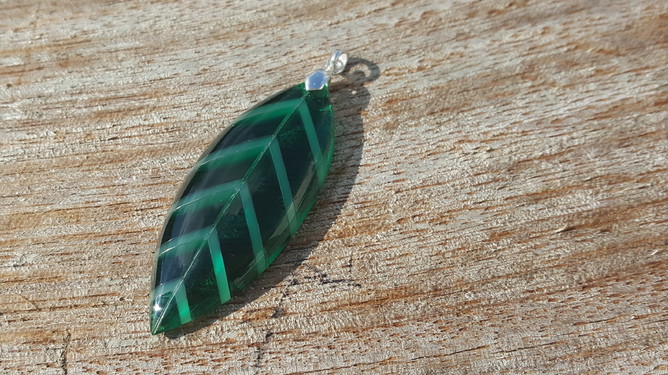
Quite a pleasing outcome. I’m looking at some different colour-ways for short limited runs.
“Oooh Sparkly things!”